
Validation
The Validation tab allows specifying conditions similar to those in the Condition tab, but to ensure that the field responses are correct for the form. If the responses are invalid, they will be highlighted in red with a related message.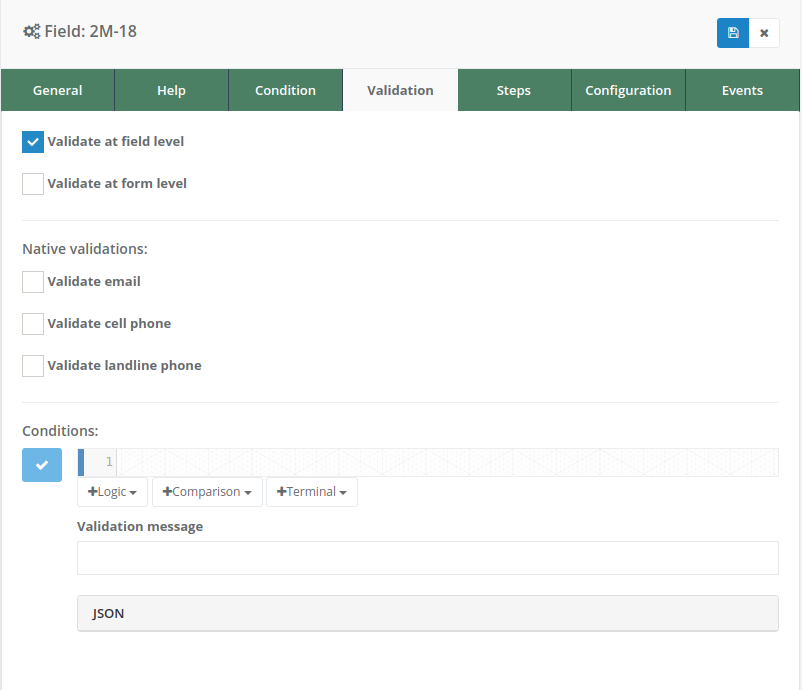
Fields
This tab presents the following fields:
Validate at field level: This field, represented by a checkbox, allows enabling or disabling validation for this field when the user selects or focuses on it. In simpler terms, validation is performed when the user leaves the field after entering a response.
Validate at form level: Similarly, this field, also represented by a checkbox, allows enabling or disabling validation at the form level. This means that validation occurs when attempting to finalize the form or move to the next section, if applicable.
Native validations
Native validations are predefined validation rules that can be applied directly without configuring them from scratch. These validations are designed to handle common cases and simplify the data validation process in forms.
It is important to note that only one native validation can be defined for a specific field. If a native validation is defined, no manual condition-based validation can be set for that field.
There are three types of native validations, each with its specific functionality: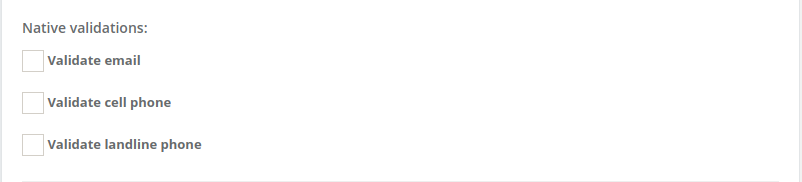
Validate email
This validation ensures that the provided response has the correct structure of an email address.
Validate cell phone
It allows validating mobile phone numbers according to specific formats of different countries. When selecting this validation, a list of countries is displayed. The user must choose the corresponding country so that the system verifies the entered number according to that country’s phone format.
Validate landline phone
Similar to mobile phone validation, this option validates landline phone numbers based on the telephone formats of various countries. When selected, a list of countries is also displayed for the user to choose the appropriate format for validation.
Conditions
This element is similar to the conditions present in the Conditions tab, with the distinction that multiple conditions can be added separately. The button to add a new condition is represented by a blue checkmark.
By using these fields and options in the Validation tab, users can ensure that the responses provided in the form meet the required criteria before proceeding.
As described in native validations, if validation conditions are defined, no native validation can be set, as a field can only have one of the two validation types.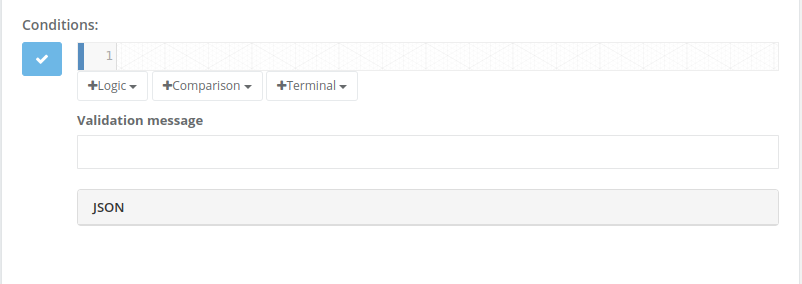
Assign validation from the menu point
To assign a validation created in the validations menu point, follow these steps:
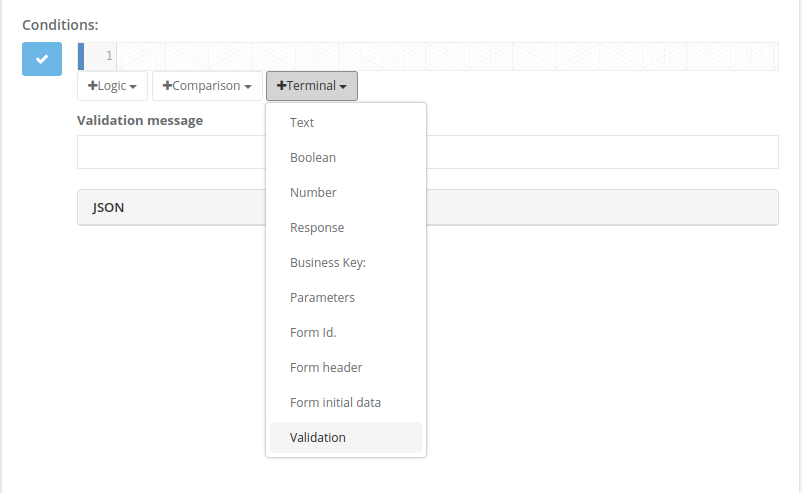
Step 1
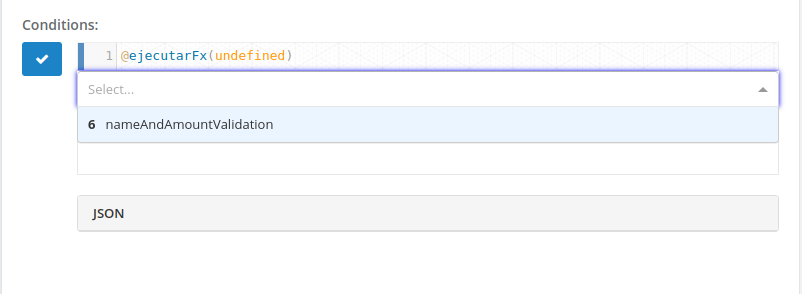
In the validation configuration tab, click on the “Terminal” button and select the “Validation” option.
Step 2
A selectable field will appear, displaying the list of validations created in the menu point. Select the validation you want to use for the field.
Step 3
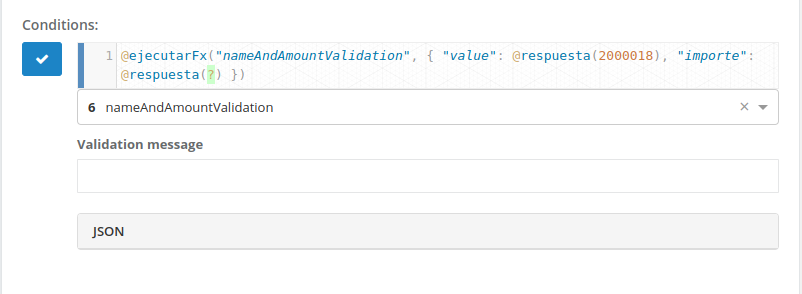
Depending on the required input fields for the selected validation, the necessary syntax will be automatically generated in the code line to execute the validation.
If there are additional parameters other than @parameter.value used, they will appear specified but with @respuesta(?). The ? symbol in the code line must be replaced with the ID of the field whose result you want to use to execute the validation.
Step 4
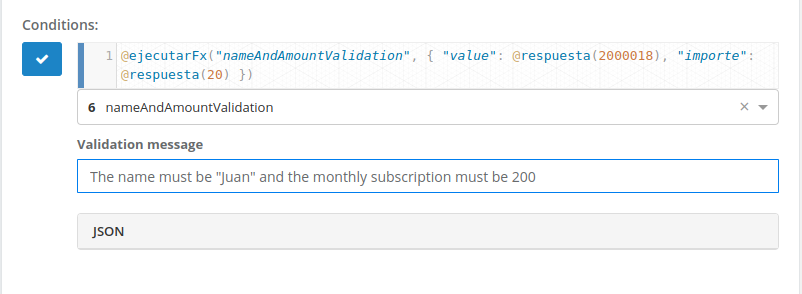
Write a validation message in the provided field.
Step 5
Save the validation by clicking the “check” button located on the left side.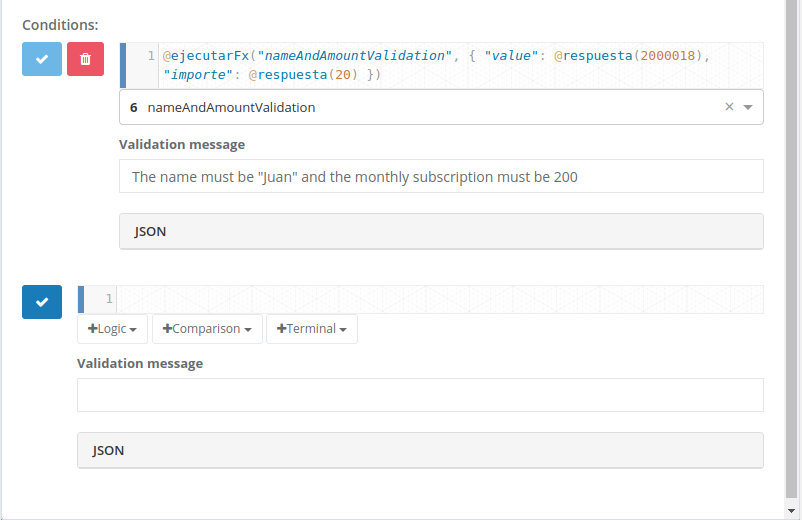
Step 6
Save the changes made to the configuration.
Create validation
Step 1
Define at which level(s) the selected field should be validated. At least one level must be chosen.
Step 2
Define one or multiple conditions, similar to how they are defined in the Conditions tab.
Step 3
Define a validation message. This message will appear if the field is invalid when reviewed at the chosen level.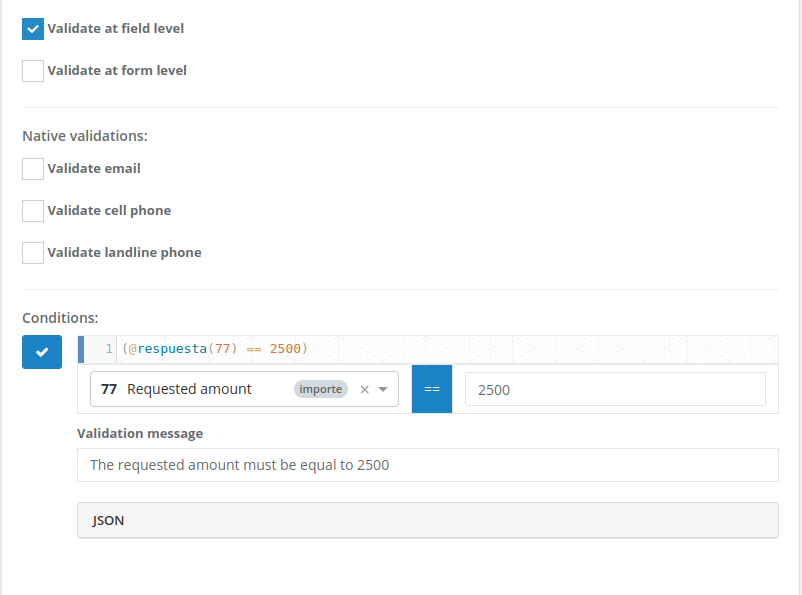
Step 4
Once the conditions are defined, add the condition by clicking the blue button.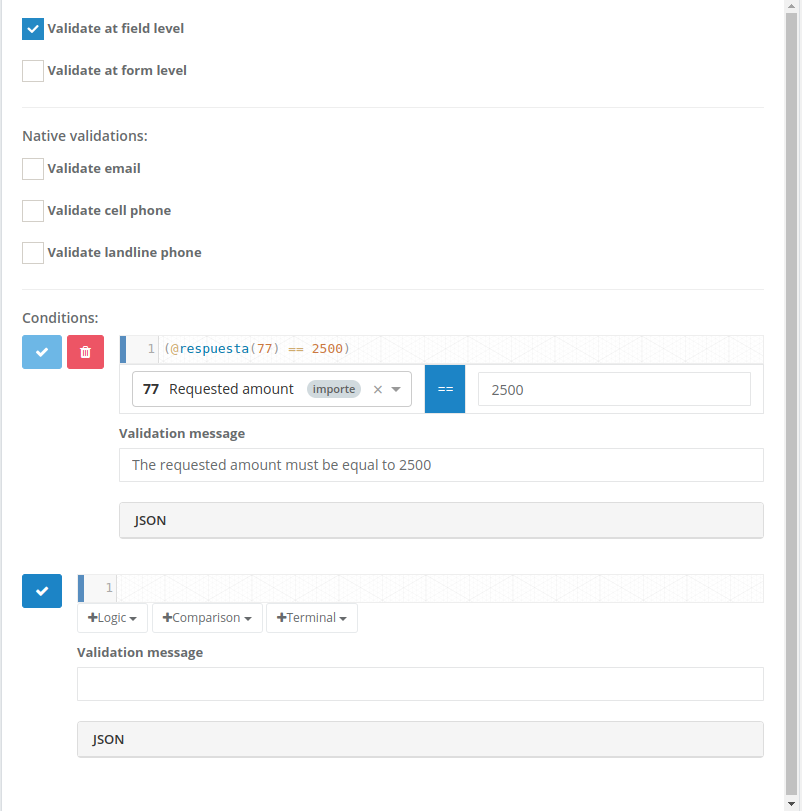
Step 5
Save the changes by clicking the save button in the configuration window.